


How to unbox, shape and store a snow-flocked artificial Christmas tree
A practical guide from opening the carton to packing up after Christmas, with two real size examples, a tier-by-tier shaping method and tips for looking after the flocking.
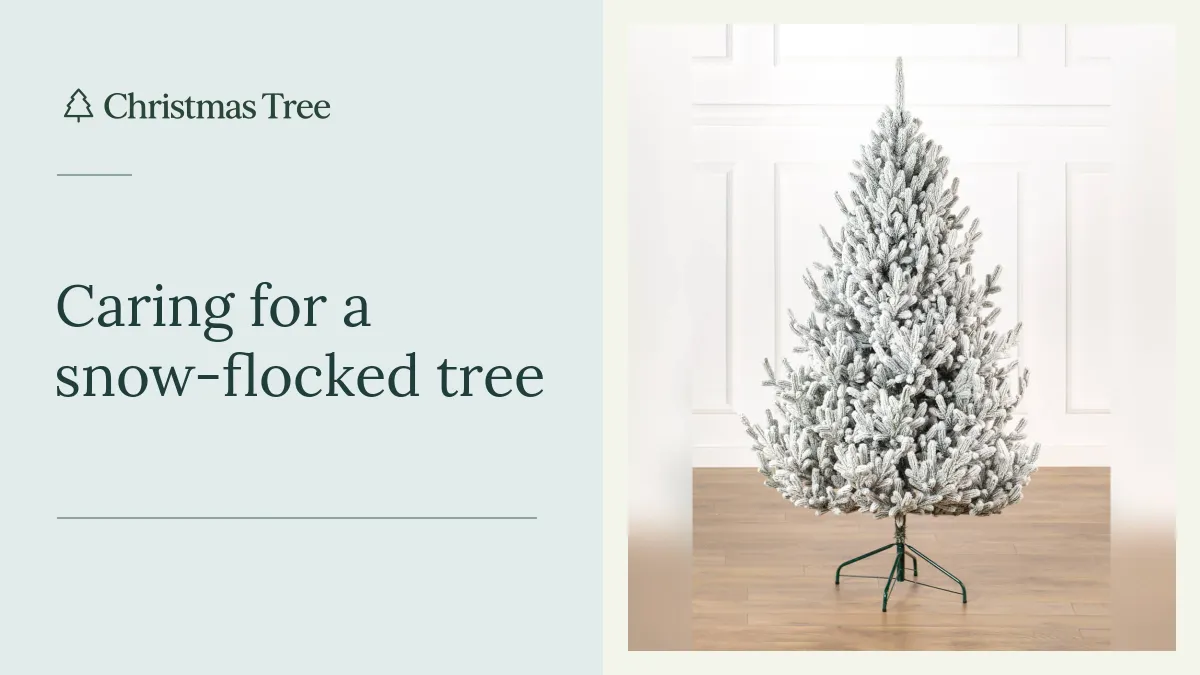
The coated branch tips of a snow-flocked artificial tree are most likely to rub against one another when you open the carton, separate the sections or pack the tree away. Set out a clear work area, inspect the parts, then assemble the tree and work upwards one tier at a time. If it is a new tree, finish checking the parts and flocking before you hang decorations.
Measure the tree space and clear a work area
Lay a clean sheet or cardboard on a dry, level floor. Leave enough room for the longest section to lie flat and for you to move around it. Clear chairs and small tables from the route to the tree. Place the stand on a level surface where you want the tree to stay. That saves you moving the assembled branches past furniture later.
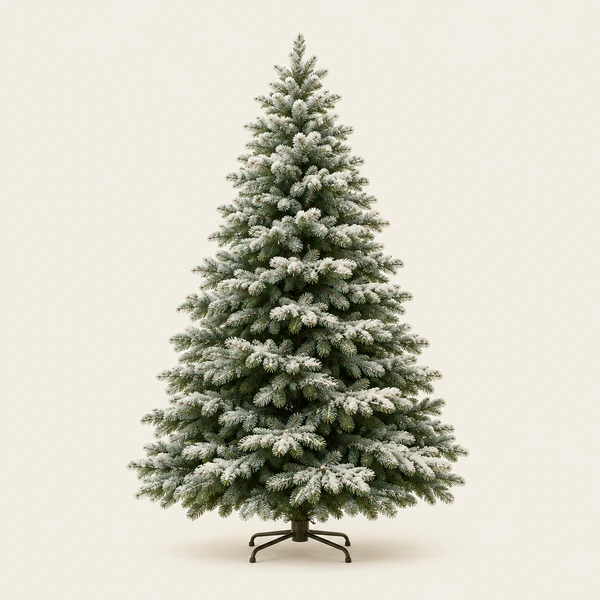
The package dimensions describe the folded sections. For example, the 1.8 m snow-flocked Vienna spreads 120 cm at its lowest tier and comes in a 30 × 30 × 100 cm box. The 1.8 m snow-flocked President Conical spreads 70 cm at the bottom and comes in a 27 × 27 × 100 cm box. In a 100 cm alcove, the Conical placed centrally leaves 15 cm each side. The Vienna needs another 20 cm just for the lower branches. For any other tree, check the diameter for the exact model and height.
Open the box and inspect each section
- Open the top seam and keep the carton until you have checked the tree. If you use a blade to cut the tape, keep it shallow so it does not touch the branches beneath.
- Lift the sections by their frames, one at a time. If two sections are caught together at the tips, put them down and work the branches apart at the point where they meet.
- Lay the sections out separately. Find the stand, any fittings and the instructions supplied with the model. Look at the trunk, connectors and exposed tips before you assemble it.
If you see a broken part or a patch with substantial flocking loss, photograph the carton, the whole section and the affected area. Keep the label and contact Christmas Tree before decorating. An overview shows which part of the tree is affected, while the close-up shows what happened to the surface.
Arrange the branches one tier at a time
Fit the stand and connect the sections in the order given in the instructions. Check that the trunk is straight before arranging the foliage. On fixed-branch models, start at the bottom. Hold a branch near its base and gently separate its smaller sprays with your other hand. Leave the flocked tips free of pressure. If a branch resists, check how it is attached and reposition your grip before trying again.
Step back after the first pass and look at the outline from the doorway or sofa. Where you see an opening, angle nearby branches to fill it. Check that the lower tier clears furniture, especially near hinges and drawers. Once the outline looks right, lay the light string between the branches. Leaving the lights until this point makes it easier to arrange both the foliage and the cable.
Look after the flocking while the tree is up
Hang ornaments from spots where the hooks can rest without pinching a flocked spray. Keep moving curtains and doors clear of the lower branches. Follow the manufacturer’s instructions if the tree needs cleaning. Avoid water, steam and stiff brushes on the flocking unless the care instructions specifically say they are suitable. If something spills on the tree or leaves a stain, ask the shop what treatment is appropriate for your model.
Check the storage box before dismantling
If the original carton has gone damp, distorted or split at a seam, find dry packaging before taking the tree apart. Compare its length with the longest section so the tip does not have to bend. Wrap the stand separately if it has protruding metal parts that could press against the branches. If you store more than one tree, label the packaging with the model and height and keep the fittings and instructions for each tree together.
Pack the tree away after the holidays
- Remove the ornaments, unplug the lights and take them off the tree. Wait until every section is dry.
- Separate the sections as directed. Bring the branches towards the trunk, supporting them near the base and avoiding pressure on the flocked tips.
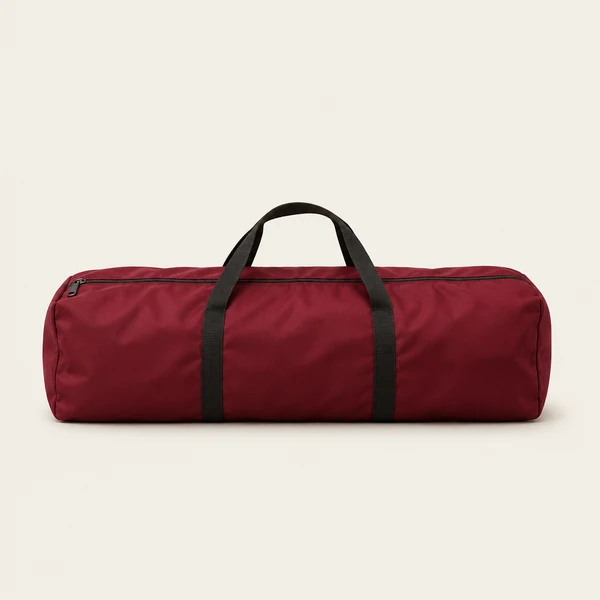
- Lay the sections inside the original carton or a suitable bag. If the zip or lid catches on the foliage or needs force, rearrange the sections or use larger packaging.
- Store the package in a dry place and keep heavy items off it. Put it somewhere you can reach without dragging it along the floor.
Measure the longest section and the width of the folded bundle before buying a replacement bag. The tree storage bag guide lists actual bag dimensions and gives examples for different heights.
Frequently asked questions
Can I wash dust off a flocked tree?
Check the care instructions for your model before using water or steam. Ask the shop about a suitable method if the instructions do not cover cleaning.
What should I photograph if I notice damage?
Take a photo of the whole section, a close-up of the damage and a photo of the carton label. Keep the packaging and send the images with your order number before assembling the affected section.
Do I need to buy a storage bag?
The original carton works if it is sound and the sections fit without compression. If you prefer a bag, check the dimensions of the folded tree and leave room around the zip.
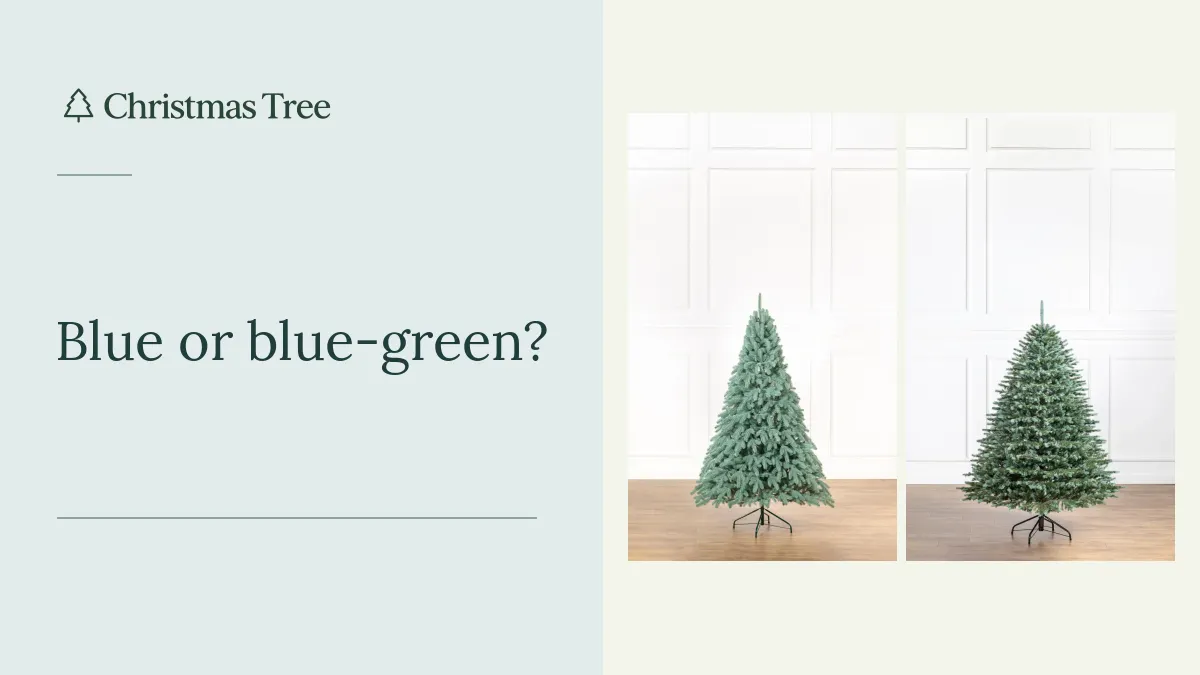
Blue or blue-green artificial Christmas tree? Three 1.8 m models compared
Blue Vienna, blue Lapland and blue-green Alaska share a height of 1.8 m but differ in width and packed weight. Compare their measurements,…
Read the story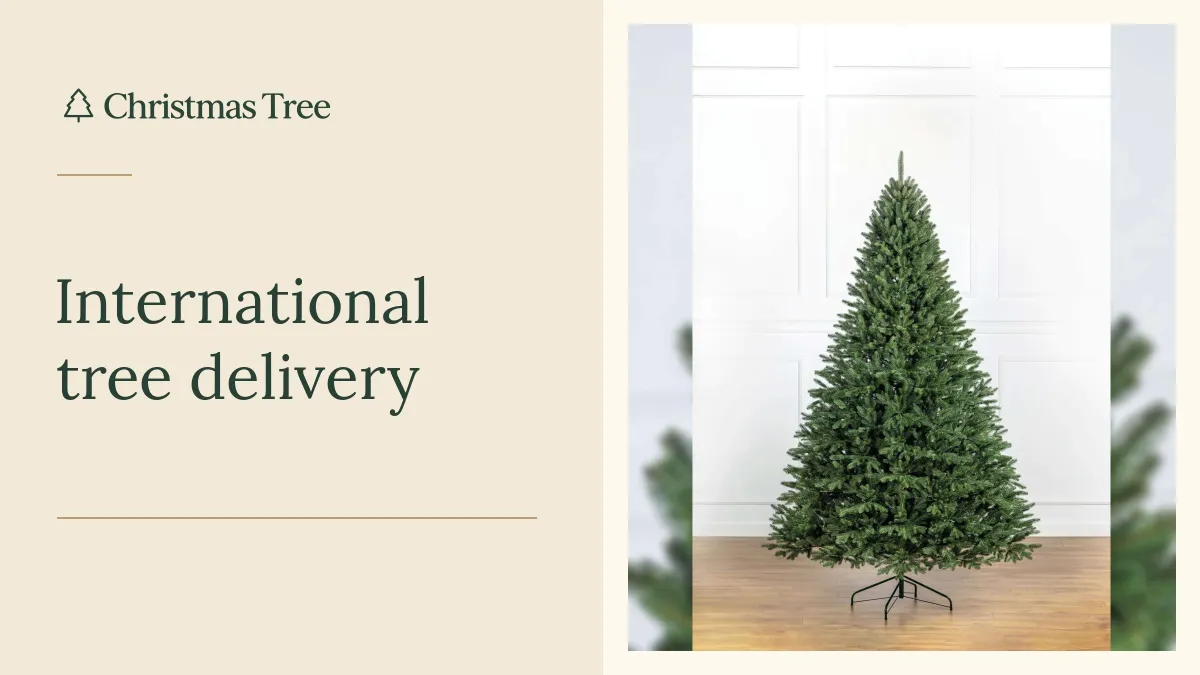
How to order an artificial Christmas tree for international delivery
Choose a model, check its packed dimensions and send a delivery inquiry with your town and country. Christmas Tree confirms the arrangements…
Read the story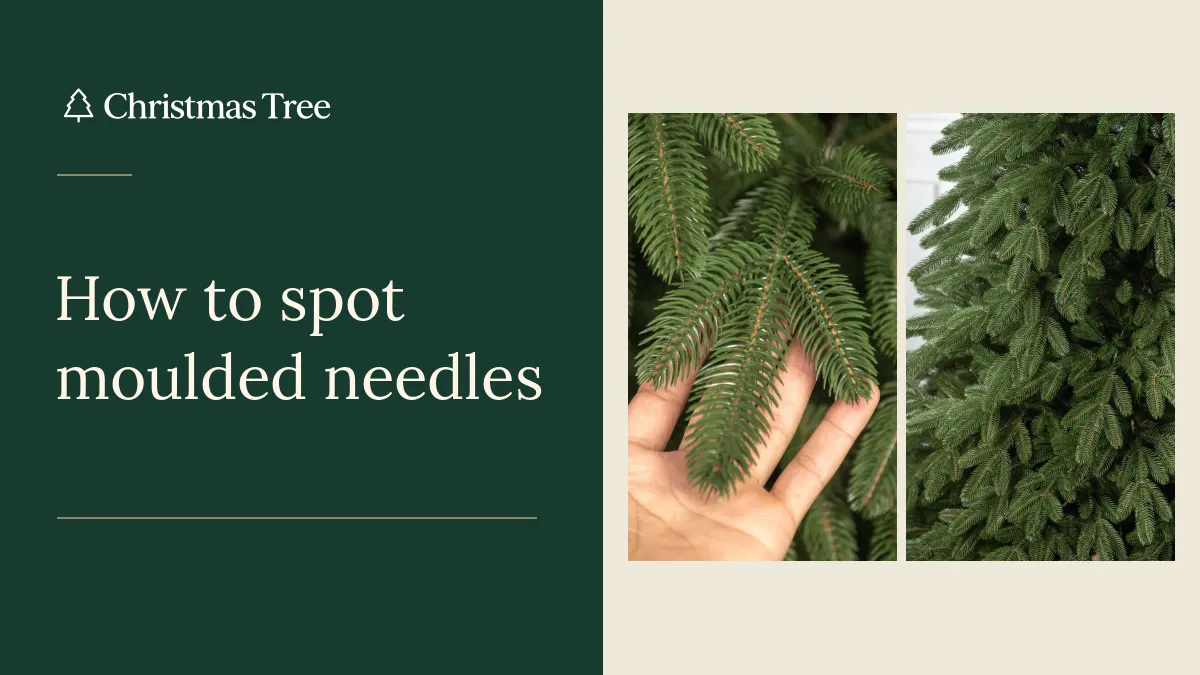
How to identify moulded PE needles in Christmas tree photos
Learn which photos to enlarge, what PE and PVC look like on a branch, and how to confirm the material used throughout the tree you are…
Read the story
